Schedule or Delete Repeating Appointments
Last updated: August 7, 2026
Osmind's Calendar lets you create both one-time and recurring appointments. You can select the specific interval you'd like appointments to be created on. This functionality extends to both individual and group appointments.
Set an Appointment to Recur
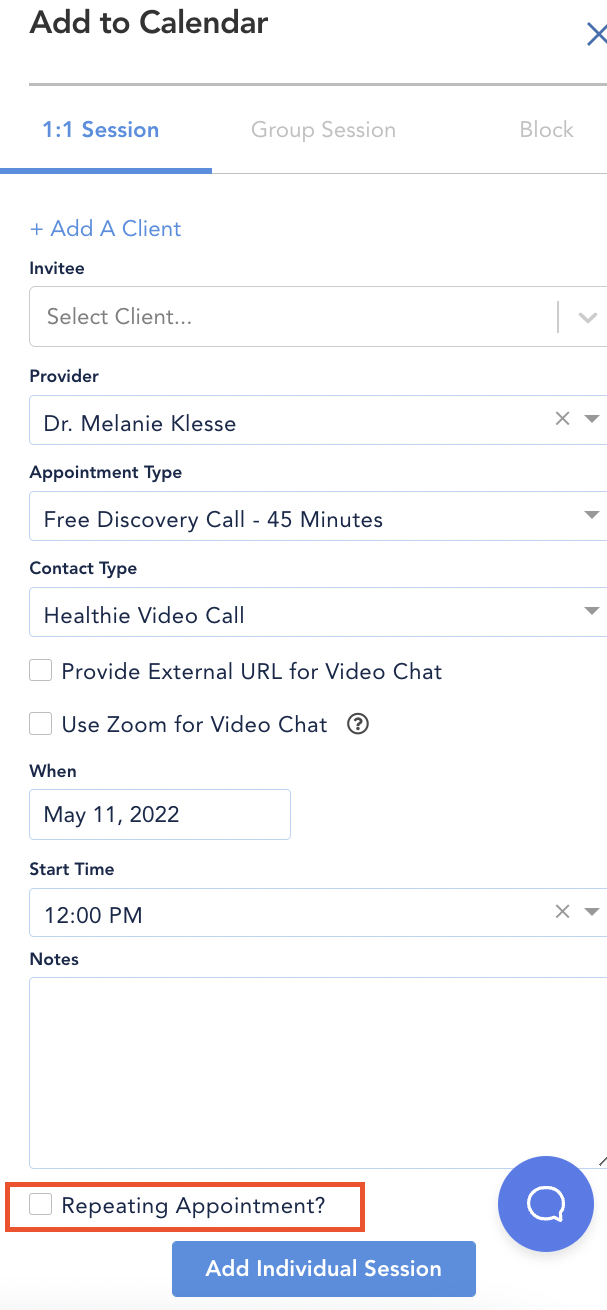
From the Calendar tab of your Osmind provider account, you'll see a blue Add Appointment button. You can also click anywhere on your calendar to schedule an appointment.
In the appointment details, check the box Repeating Appointment.
Repeat Interval:
Weekly
Biweekly
Monthly
Every 4 weeks
Repeat Times:
Choose the number of times you'd like this appointment to recur
Note: Repeating appointments will only create the first appointment immediately — it will take a few minutes for all following repeating appointments to populate. Refresh the page to see all appointments.
Delete a Recurring Appointment
A recurring appointment can be deleted by opening the session details for the appointment within the Calendar. A side panel will appear — click the trash icon. You'll have a chance to confirm before the session is deleted.
A modal will appear asking you to confirm whether you'd like to delete just this one instance of the appointment, or all future recurring sessions.
If you delete a single session, it will be removed from your calendar and the patient's calendar, and the patient will be notified. One credit will be restored to the patient if the session status is marked as Cancelled or No-Show. You can update this setting in your organization settings, or manually adjust credits from the Credits section in the Overview tab of the patient's profile.
If you don't want the session removed from your calendar entirely, set the Session Status to Cancelled instead of deleting it.